The Single Customer View highlighting the Application Navigation.
The Single Customer View highlighting the Create Shortcut.
The Single Customer View highlighting the Breadcrumb Navigation.
The Single Customer View highlighting the User Admin Settings.
The Single Customer View highlighting the User Profile widget.
The Single Customer View highlighting the Audiences widget.
The Single Customer View highlighting the Subscription widget.
The Single Customer View highlighting the Activity Stream widget with Load More button.
The Single Customer View highlighting the Payment Methods widget.
The Single Customer View highlighting the Lifetime Value (LTV).
The Linked Accounts widget on the Single Customer View.
blox nxt
Single Customer View
Overview
The Single Customer View shows all of the selected contact’s information in one place including user profile, logical subscriptions, transactions, password failures, payments, payment methods, audience segments, and linked accounts!
💡 Looking for Admin related information? Check out the Single Admin View.
This overview describes the various areas of the Single Customer View, including the Application Navigation, Create Shortcut button, Breadcrumb Navigation, Lifetime Value, User Admin Settings, User Profile, Audiences, Linked Accounts, Subscriptions, the Activity Stream, and Payment Methods.
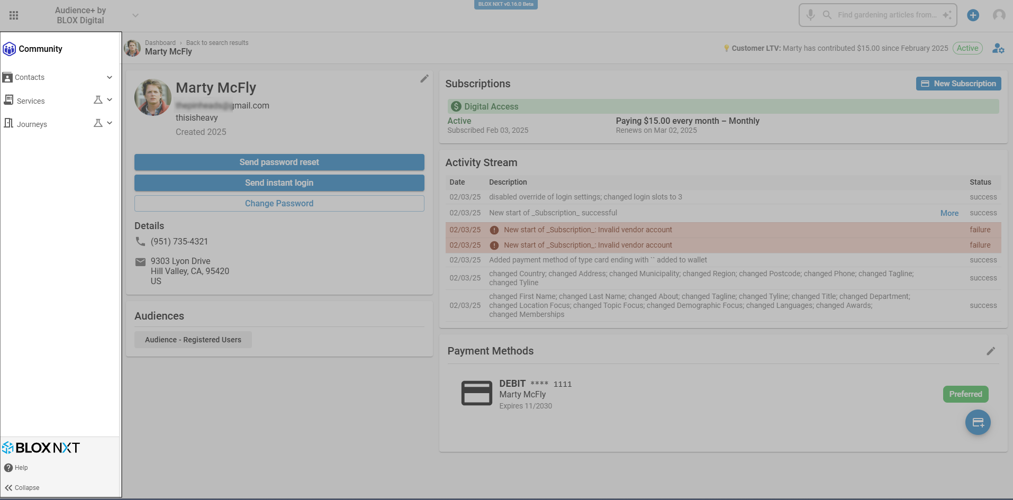
The Single Customer View within Community.
Prerequisites
Updating Profile: Only users assigned to a Group containing the ‘Ability: Community / User Accounts / Full access’ or ‘Ability: Community / User Accounts / Manage user accounts / Edit profile’ will be able to update the customer’s profile.
Updating Change password: Only users assigned to a Group containing the ‘Ability: Community / User Accounts / Full access’ or ‘Ability: Community / User Accounts / Manage user accounts / Change authentication’ will be able to click ‘Change password’ to change the user account’s password.
Application Navigation
The Application Navigation allows navigation within the selected application. For example, while in the Community Application, Application Navigation allows navigation between Contacts Search, Dashboard, Services, Journeys, etc.
In addition, Application Navigation offers options to return to the Home Dashboard, access help documentation, and collapse or expand the Application Navigation.
The Single Customer View highlighting the Application Navigation.
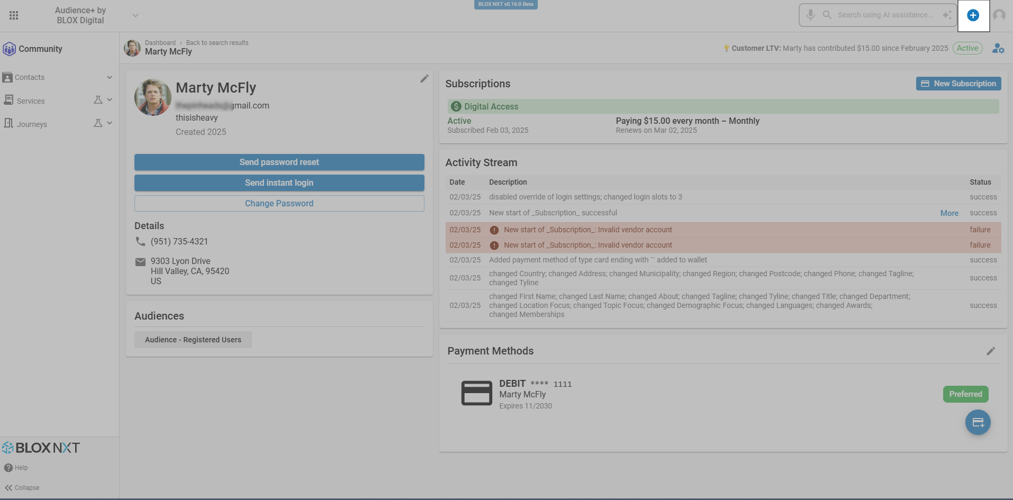
Create Shortcut
The Create Shortcut option lets users quickly create any number of items such as an asset or a user account. It recommends options based on the current application and allows users to pin frequently used items.
The Single Customer View highlighting the Create Shortcut.
Breadcrumb Navigation
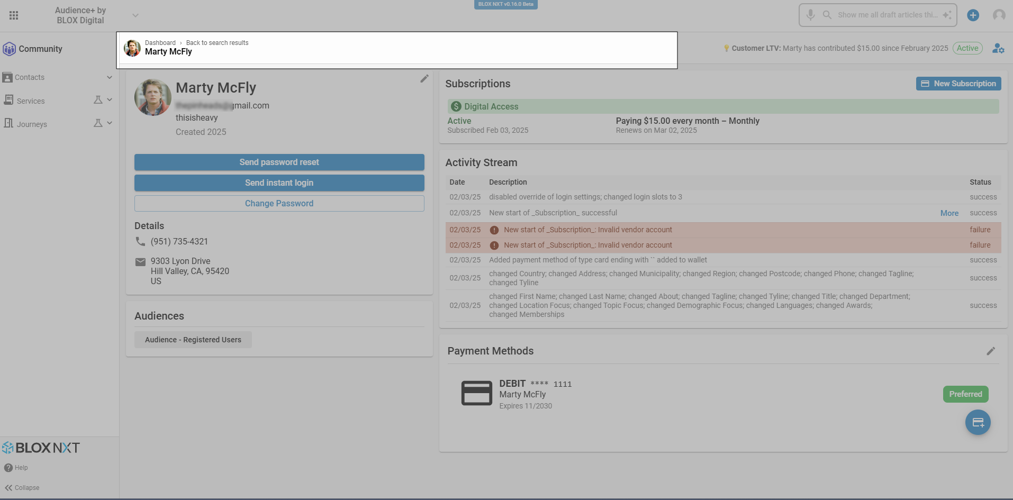
The Breadcrumb Navigation section is prominently displayed at the top of the Single Customer View. It includes a breadcrumb trail that starts with the “Dashboard” and includes a link labeled “Back to search results”. The final breadcrumb item is reserved for the Contact's First and Last Name (or the Contact's Screen Name if no First or Last Name is available), indicating the specific Contact currently being viewed.
The Single Customer View highlighting the Breadcrumb Navigation.
Lifetime Value
The Lifetime Value (LTV) displays the total amount paid by the customer, including all transactions (via BLOX Subscriptions, BLOX Forms, BLOX Ad-Owl, etc.), allowing CSRs the opportunity to fully understand the customer’s contribution to their brand / website.
It’s displayed as, “Customer LTV: {First Name} has contributed $x.xx since {User Account Date Created}”
📝 if First Name is not provided, LTV will be displayed as “Customer LTV: This customer hascontributed $x.xx since {User Account Date Created}”
The Single Customer View highlighting the Lifetime Value (LTV).
User Admin Settings
The User Admin Settings may be used to send an admin invite to the selected Contact. Click on User Admin Settings, select ‘Send Admin Invite’, and click ‘Send Invite’ to send an email admin invite to the contact.
The Single Customer View highlighting the User Admin Settings.
User Profile
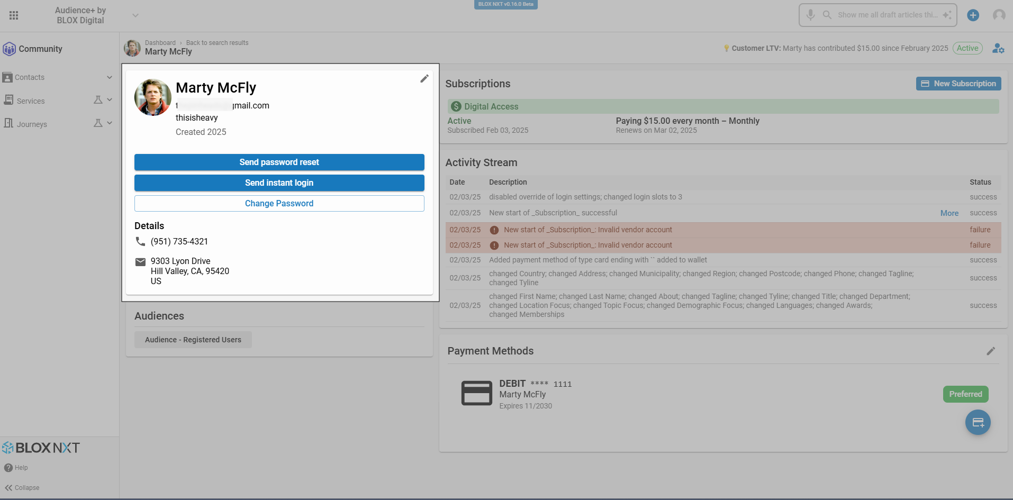
The User Profile widget displays Contact information such as E-mail, Screen name, and the year the user account was created. It allows the Customer Service Representative (CSR) to Send [a] password reset email, Send [an] instant login email, or Change [the User Account’s] password. In addition, it provides the ability to edit information tied to the Contact’s User Account including, First Name, Last Name, Phone, Birthday, Email, Screen Name, Address, Municipality (City), Postal Code, Country, and Region (State).
📝 depending on the Auth. Type set on the Contact’s User Account, the options ‘Send password reset’, ‘Send instant login’, and ‘Change password’ may be disabled and unavailable.
The Single Customer View highlighting the User Profile widget.
Send password reset
To send a password reset email to the email address associated to the User Account, the CSR can click ‘Send password reset’.
Send instant login
To send an instant login email to the email address associated to the User Account, the CSR can click ‘Send instant login’.
Change password
To change the User Account’s password, follow the directions below.
Click ‘Change password’
Enter a ‘New Password’
Click ‘Update’
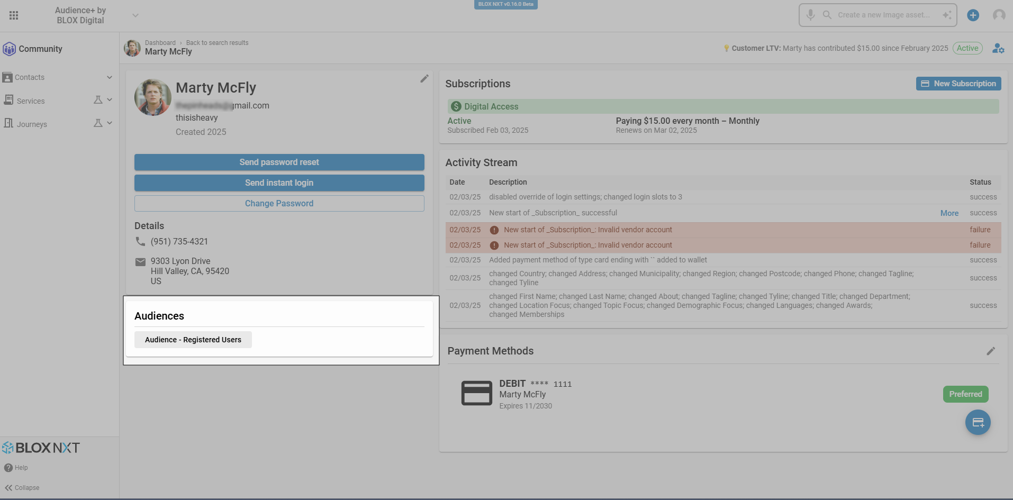
Audiences
The Audiences widget displays the Customer Data Platform (CDP) Audiences the Contact is part of, in the form of tags. These are read only, there is no way to manually add or remove these tags.
The Single Customer View highlighting the Audiences widget.
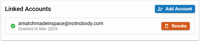
Linked Accounts
The Linked Accounts widget displays email’s of other contacts that have been granted shared access to a contact’s active subscriptions. It provides the Customer Service Representative (CSR) the ability to help subscribers manage this shared access by allowing them to Add a Linked Account or Revoke Access to an existing linked account.
📝 Linked Accounts need to besetup and enabledon the subscription service.
The Linked Accounts widget on the Single Customer View.
Add a Linked Account
To add a Linked Account, follow the directions below.
📝 The ability to add a Linked Account is disabled for contacts that have no active subscription.
Click ‘Add Account’
Enter the email address of an existing User Account
Click Add
Revoke Access
To revoke access for an existing Linked Account, follow the directions below.
Click Revote to the right of the linked account you want to revoke
Click ‘Revoke Access’
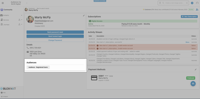
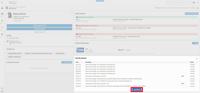
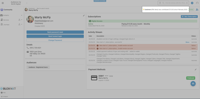
Subscriptions
The Subscriptions widget displays the 5 newest logical subscriptions for the selected Contact sorted by the start date of the subscription (newest subscription first). A ‘Load More’ option will appear at the bottom of the Subscriptions widget if the contact has more than 5 logical subscriptions. Clicking ‘Load More’ will display an additional 5 logical subscriptions.
📝Active subscriptions (subscriptions with a status of “Active”, “Grace”, or “Active and Cancelled”) will always appear above inactive subscriptions (subscriptions with a Status of “Cancelled” or “Expired”) with subscriptions with a status of “Active” appearing first, followed by subscriptions with a status of “Grace”, followed by subscriptions with a status of “Active and Cancelled”, finally followed by all inactive subscriptions.
Each record contains a snapshot of information about the subscription including, Subscription Status, Subscription Service, Current Rate, Subscription Start Date, an indication if it Auto Renews, and Renewal Date.
📝some of this information may not be available for 3rd party subscription services.
The Single Customer View highlighting the Subscription widget.
New Subscription
The Subscriptions widget also contains an ‘Add New’ option to add a new subscription. See the New Subscription Wizard for additional information on how to setup a new subscription.
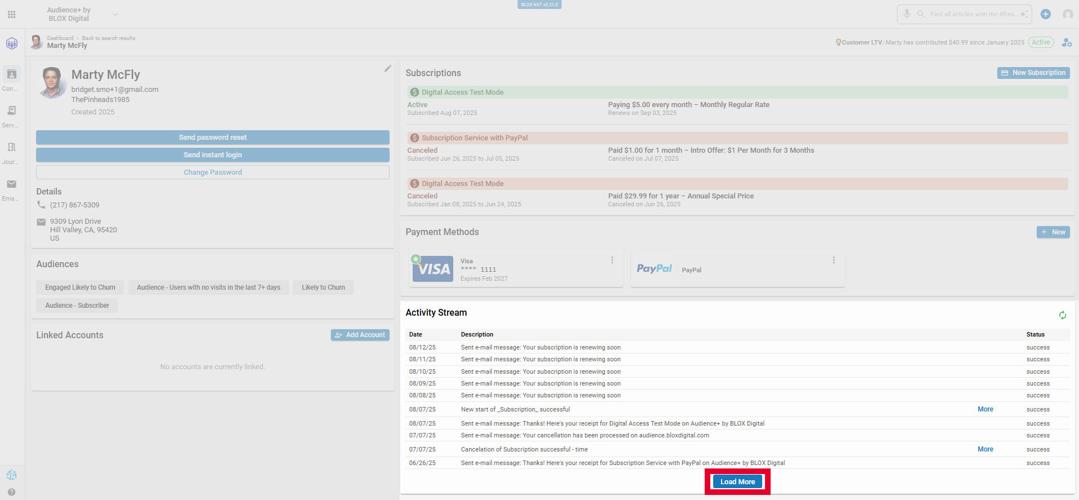
Activity Stream
The Activity Stream widget is a table that displays the most recent user events, sorted by date the event occurred.
These events include logins, subscription starts, renewals, rate changes, cancellations, password updates, contact information updates, payment failures, and registration. Additional events will be added in the future.
Some items in the Activity Stream may be viewed in detail. Click ‘More’ next to the Status to view those details.
BLOX admin usernames, such as customer service representatives, are displayed alongside activity entries so you can track who made each change.
To view more than the default 10 results, click the Load More button.
📝 Payment method transaction failures will be highlighted in red text.
The Single Customer View highlighting the Activity Stream widget with Load More button.
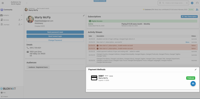
Payment Methods
The Payment Methods widget displays the active payment method(s) on file for the Contact’s wallet. The preferred, or default payment method will be displayed first (upper left) and be marked with a star.
Each record contains a snapshot of information about the payment method including, Card Type, Last 4 Digits, and Expiration Date.
In addition, the Payment Method widget allows the Customer Service Representative (CSR) to Add a Payment Method, Remove a Payment Method, and to Update the Default Preferred Payment Method.
📝 Features in NXT Contacts that require Wallet (Premium Credit Card Management) will appear grayed out for sites that have not purchased it. These include buttons to change payment method, change rate, and add a new payment method, as well as steps in the Cancel and Subscription wizards. To get access to these features, visit bloxdigital.com/products_services/pay, submit a ticket, or contact your sales rep.
The Single Customer View highlighting the Payment Methods widget.
Add a Payment Method
To add a payment method to the subscriber’s wallet, follow the directions below.
Click ‘+ New’ in the Payment Method widget
Enter the Billing Information
Click Next
Enter the Card Information
Click ‘Add Card’
Remove a Payment Method
To remove a payment method from the subscriber’s wallet, follow the directions below.
📝 the payment method marked as preferred cannot be removed without designating another preferred payment method first.
Select ‘Delete’ from the menu on the Payment Method you want to remove
Click ‘Delete’
Update the Default Preferred Payment Method
To update the default preferred payment method, follow the directions below.
📝 the ‘Make Preferred’ option will only be available on payment methods that are currently not designating as the preferred payment method.
Select ‘Make Preferred’ from the menu on the Payment Method you want to set as the preferred payment method