


Initial Setup
Create a profile
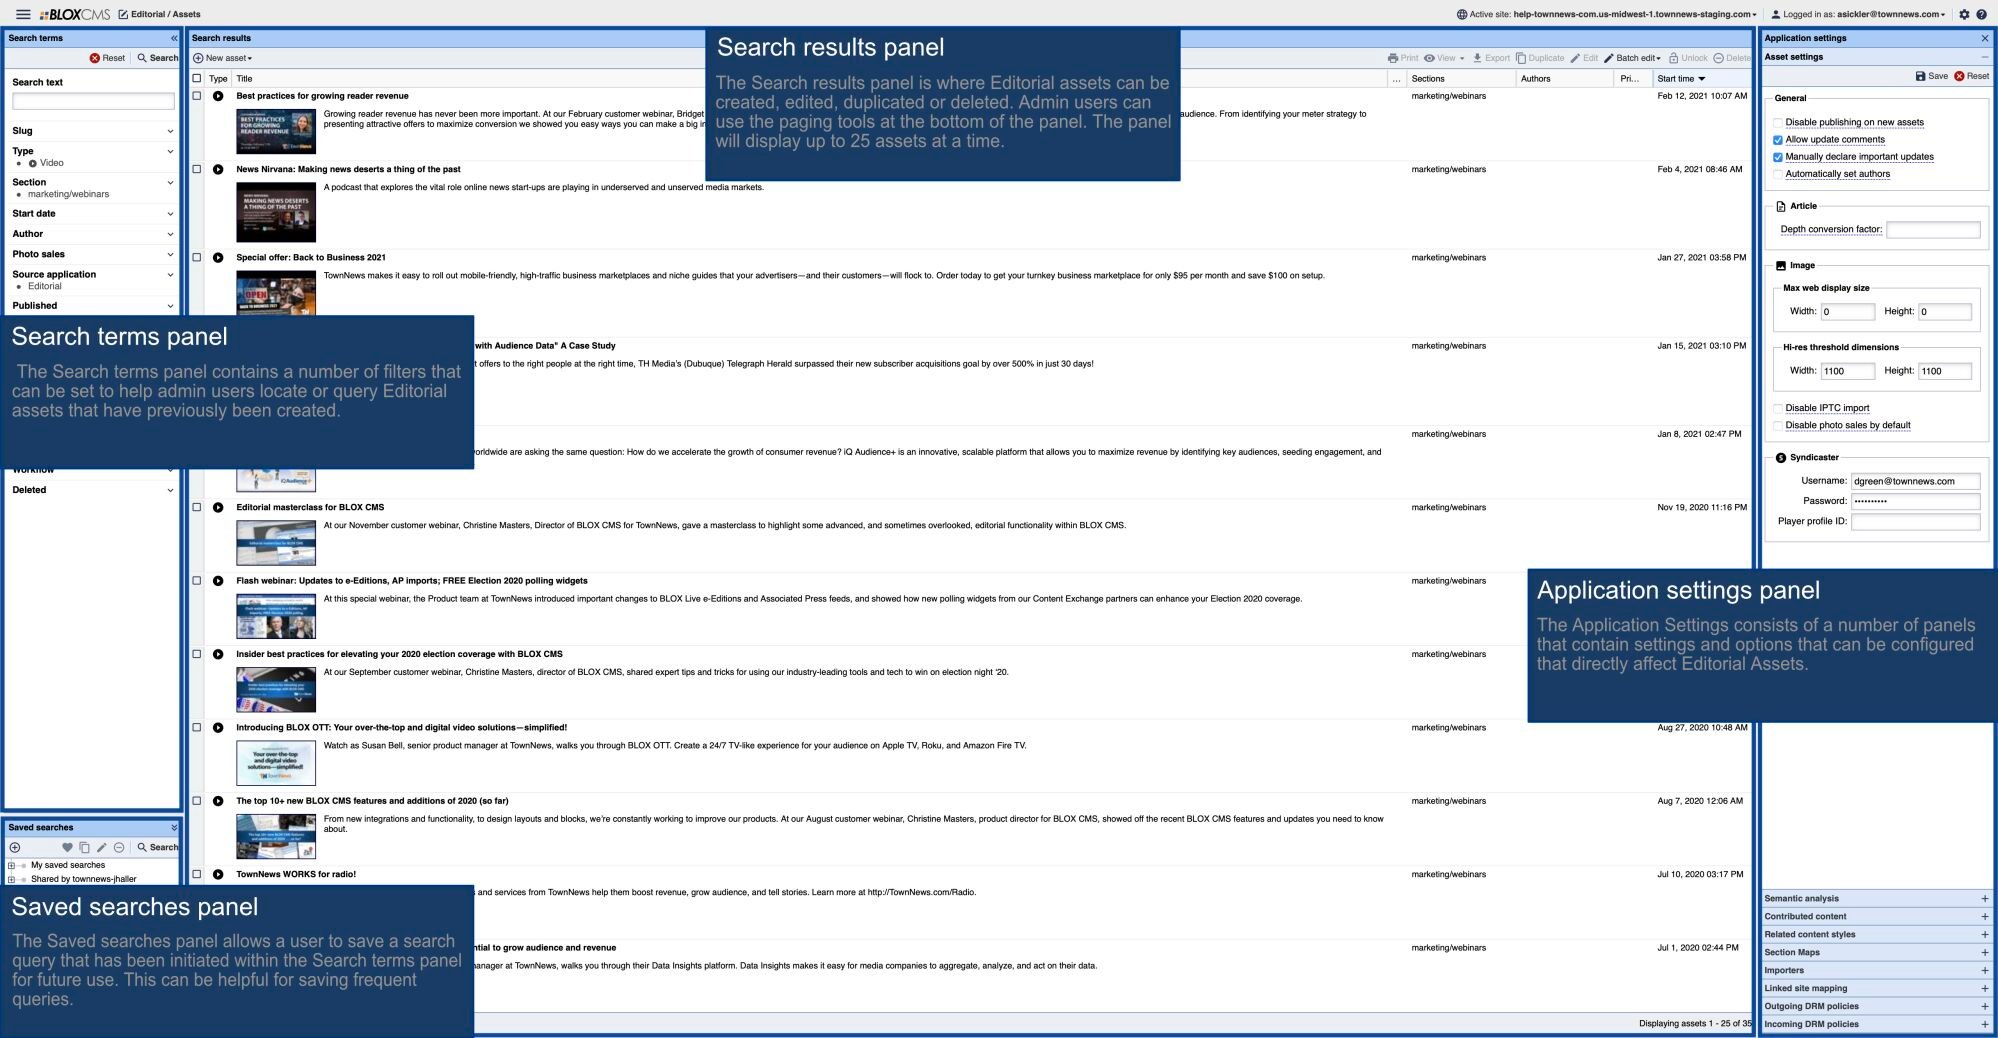
WARNING: If AppMan is not installed on the site, it will need to be installed before continuing. It should appear as “Apps” in the hamburger menu within BLOX.
- Click “Apps” and you should see a menu labeled “App Profiles” on the left side.
- Click the “gear” icon on the top right corner of the screen and it should show a menu with a section labeled “Profiles”. * insert screenshot of screen pointing to gear *
- Click “New” and a modal should appear asking for a name. Give it a name and click “Save”. On the left side, you will need to select the newly created profile. * insert screenshot of dropdown *
Configure BLOX Mobile NX
The configuration for AppMan will depend on what features you want to use. We’ll walk through the most basic AppMan profile set up which includes setting up the app information.
- If you are not already on it, click the “Configuration” tab. You will be prompted for information about the app.
- Version number and Profile ID are unchangable and auto set by the backend.
- “App name” should be the app name which appears on your Apple App Store and Google Play Store pages
- “Android package name” is the bundle id associated with your app. This usually comes in the form for “com.domain.appname”.
- “Google Firebase notifications service account” is a JSON file downloadable from the Firebase panel. This gives AppMan the ability to send and configure push notifications. See below how to download this file.
- Go to the app’s Firebase panel.
- Click the gear on the left side next to “Project Overview” and then click “Project Settings”.
- Click the tab labeled “Service accounts”.
- You will see the following screen with the option to “Generate new private key”. Click this blue button then click the blue button again confirming your intent to generate a new key.
- A JSON file will be downloaded to your browser. This file should be kept secret and not shared with others.
- Navigate back to AppMan and click the “gear” button in the top right corner. At the bottom of the newly appeared menu is a section called “Google service accounts”.
- Once the menu has expanded click “New”. Give your service account a name and upload the JSON file with the “upload” button then click “Save”.
- Refresh the page and click the dropdown under “Google Firebase notifications service account”. You should see your newly uploaded Firebase JSON file.
- “iOS application ID” is a random alphanumeric or numeric string which comes from Apple. To find this see below.
- Go to your Apple Connect.
- Click on the app you are trying to configure in AppMan.
- On the left side, under “General”, click “App Information”.
- Under “General Information” you will see “Apple ID” which is what you need. *insert screenshot of Apple Connect*
- “iOS bundle name” is the bundle id associated with your app. This usually comes in the form for “com.domain.appname”. This may or may not match the “Android package name”.
- Once any or all of this information has been filled in click “Save”. The basic setup of AppMan includes push notifications which can be set up by following the instructions in the section called “Notifications”.
“Publish version” vs “Make live”
Next to the “Save” button are two buttons labeled “Publish version” and “Make live”. The purpose of these buttons are confusing and the difference between them are very slim. When “Publish version” is clicked the version is available to be used within the app by overriding the “live” profile. This is a feature which does not exist within the app at this time, but in a future version the publisher will be able to select an experimental profile version to test configurations before making them live to the general public. When “Make live” is selected the currently selected profile version will be made “live” and made available to everyone.
NOTE: In most instances you want to select “Make live” when publishing a version.