In-Story Automatic Ads, are ads that are positioned in the flow of the story. How often they show up is determined in how you set them up. This document will walk you through setting up In-Story Automatic Ads. The settings that are used determines the number of paragraphs before the first ad will appear.
In-Story Automatic Ad positioning takes effect (begins to appear) below the first three Fixed Ad positions for In-Story Ads whether you are using them or not. The Fixed In-Story Ads are:
- fixed-big-ad-top-asset - This ad is positioned after the first three paragraphs of a story.
- fixed-big-ad-middle-asset - If In-Story Automatic Ads are not enabled, this ad will be positioned after the sixth paragraph of a story. If In-Story Automatic Ads are enabled, this ad will be positioned after the number of paragraphs set in the Ad Settings. For example: If the value of "4" is set for In-Story Automatic Ads, this fixed ad will show up after the seventh paragraph of a story.
- fixed-big-ad-bottom-asset - If In-Story Automatic Ads are not enabled, this ad will be positioned after the ninth paragraph of a story. If In-Story Automatic Ads are enabled, this ad will show up after the number of paragraphs set in the Ad Settings. For example: If the value of "4" is set for In-Story Automatic Ads, this fixed ad will show up after the 11th paragraph of a story.
To Summarize: The "Paragraphs Between Automatic Ad Settings" value (ie: "4"), effects the ad positioning of the second and third Fixed In-Story Ad positions (fixed-big-ad-middle-asset and fixed-big-ad-bottom-asset).
Steps to Implement In-Story Automatic Ads
- Step 1 | Setup/Create The Ad Region
- Step 2 | Create The Ad
- Step 3 | Create The Ad Block
- Step 4 | Setup In-Story Automatic Ad Settings
Setup/Create The Ad Region
ACCESSING APPLICATIONS
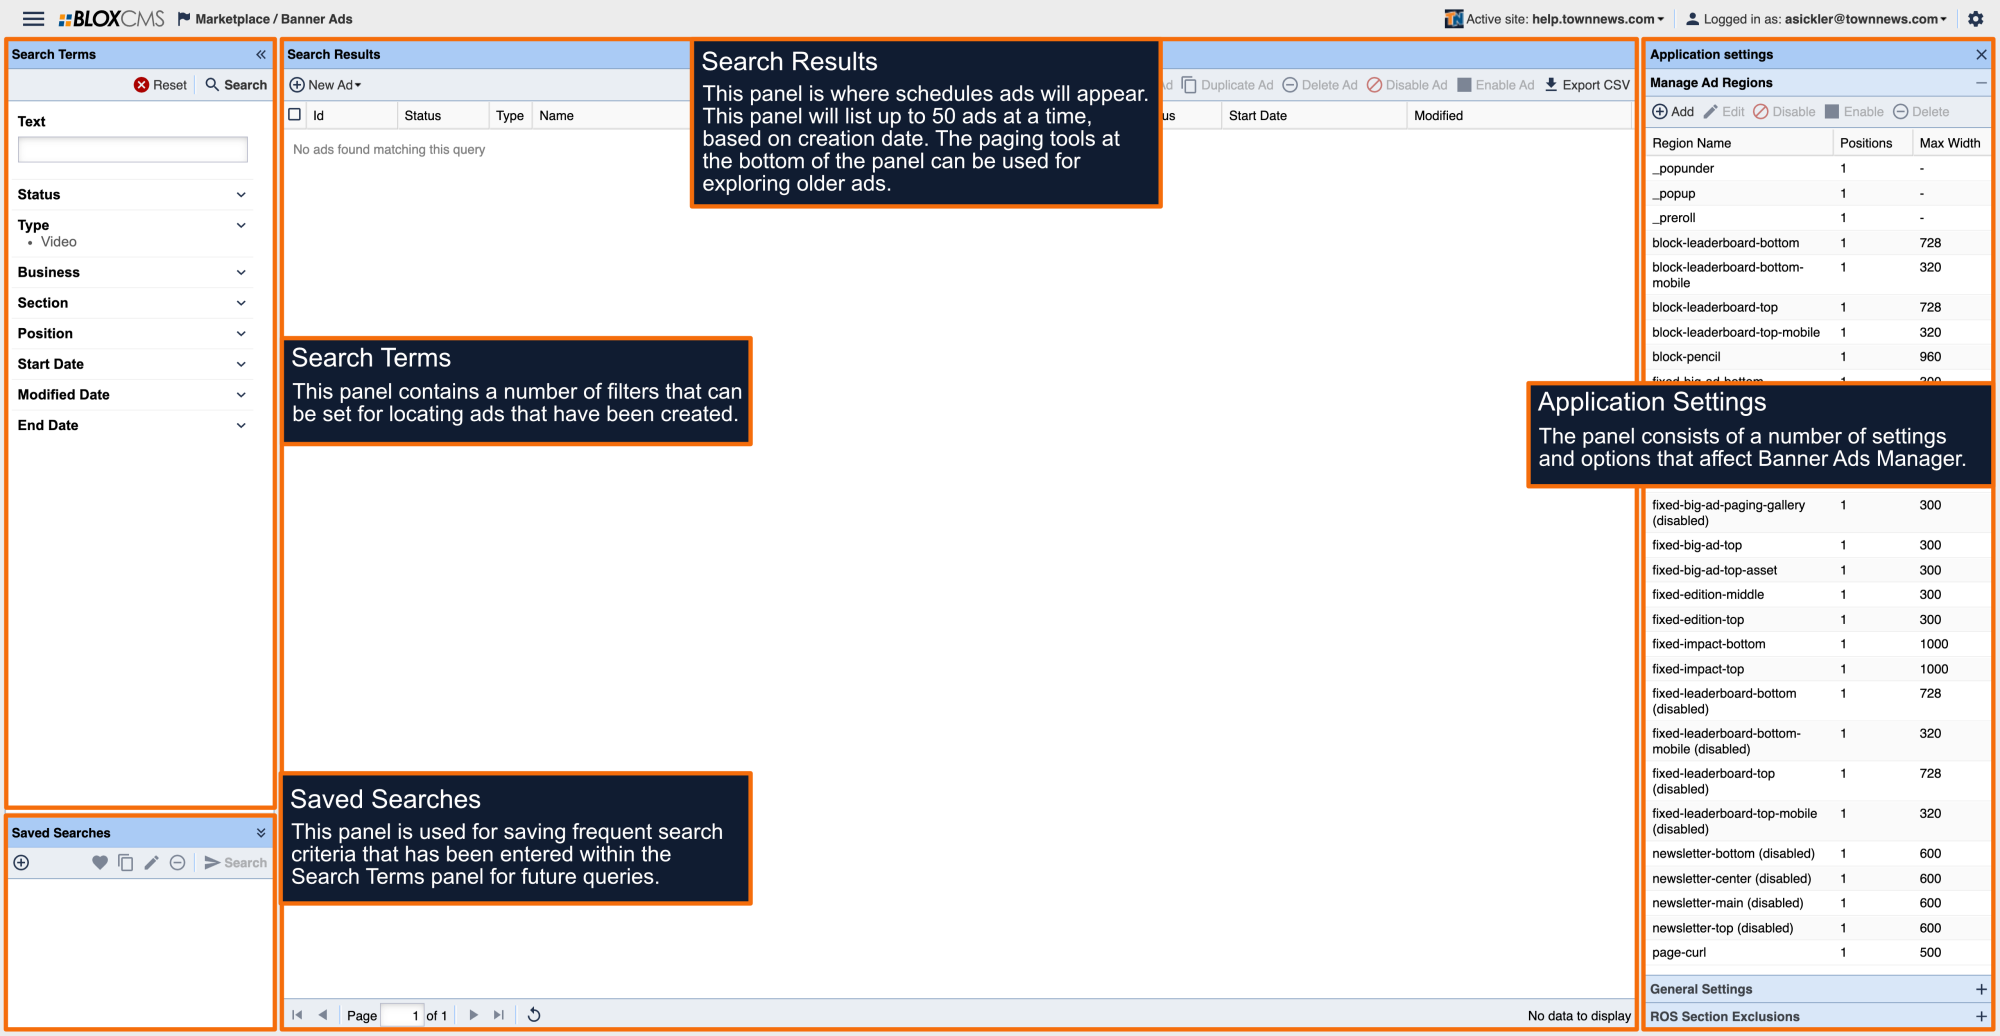
From the drop-down in the the upper left choose Marketplace / Banner Ads...
NOTE: Not sure how to access BLOX Applications? Click here
ACCESSING APPLICATIONS
From the drop-down in the the upper left choose Marketplace / Banner Ads...
NOTE: Not sure how to access BLOX Applications? Click here
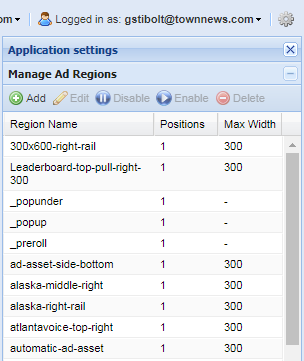
Under Manage Ad Regions, click on Add.
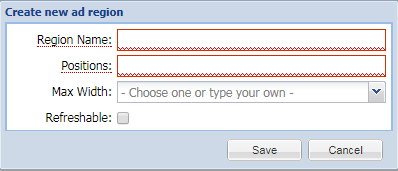
This opens up the Create New Ad Region window.
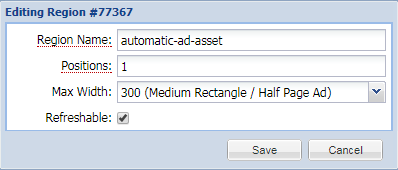
Fill in the following fields:
- Region Name - Enter 'automatic-ad-asset' - All lower case, no spaces (use hyphens or underscores to connect words).
- Positions - Leave this at "1" for these types of ads.
- Max Width - Select the maximum width of the Ad from the drop down or enter a width (in pixels) for the ad you are using (ie: 300).
- Refreshable - Leave this unchecked for In-Story Automatic Ads if you're using GAM or iQ DMP Ads.
- Click Save when you're done. The window closes and the Ad Region is in the list.
NOTE: If you started creating the Ad before you created the 'automatic-ad-asset' Ad Region, you will need to Save and Close the ad, create the Ad Region, and then Refresh the BLOX CMS Admin.
Create The Ad
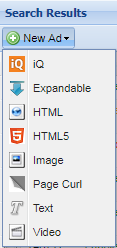
While in Marketplace / Banners Ads, on the Search Results toolbar, click on New Ad and select the Ad you want to create (ie: Image).
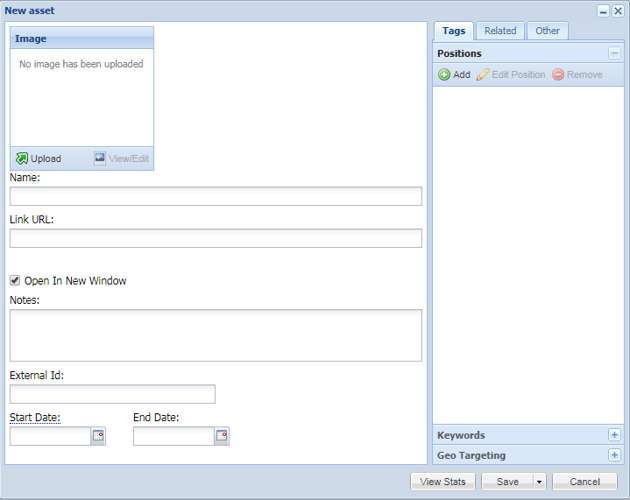
This opens up the New Ad Edit window.
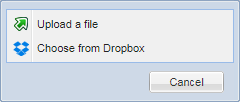
Click on Upload in the Image Preview window. This opens a dialogue window to find your ad and retrieve it.
Click on Upload a File. This opens a windows browser so you can search your network file servers or local desktop to select the Ad. Once selected, click on Open. The ad is added to the Image Preview window.
Continue to fill in the following as necessary:
- Name - (Required) - Give the name something descriptive as the name such as the ad region, size, purpose, etc. (IE: automatic-asset-ad | 300 x 250 | In-Story Automatic | Business Name). It can be anything you want.
- Link URL - Enter a fully qualified URL (begins with http:// or https://) to the landing page of the ad.
- Open in New Window - Make sure this is checked. The Ad, when clicked, opens in a new browser tab or window (Best Practice).
- Notes - This is administrative purposes only. Notes you want as a record of the ad for future references.
- External ID - This is administrative purposes only. Enter the clients Account number or some other internal ID you use to track this clients business.
- Start Date / End Date - Set the start date of the Ad if it is to run in the future. Otherwise, as soon as you click Save, the ad goes live.
Two More Items To Do
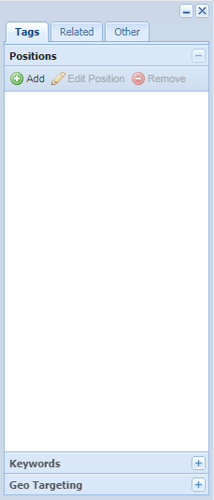
(A) Under Tags / Positions, click on Add to add the 'automatic-ad-asset' ad position you created earlier.
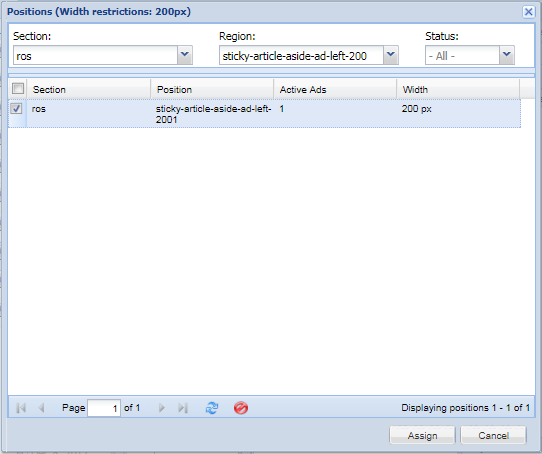
This opens the Positions window.
In the Region drop down field, find the "automatic-ad-asset" position you created earlier. Then in the Section drop down field, select the section you want the ad to appear. ROS is for run of site. This enables the In-Story Automatic Ads to run in/on every section.
Check the Checkbox in the results for your search and click on Assign on the bottom right.
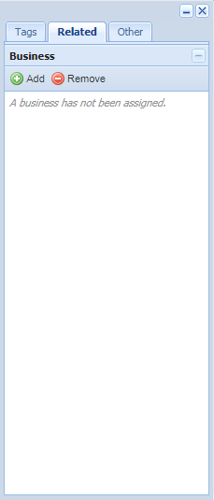
(B) This step is optional but TownNews.com recommends this as a Best Practice. Doing so, allows you to capture analytics for the business on their ads. Go to Related / Business.
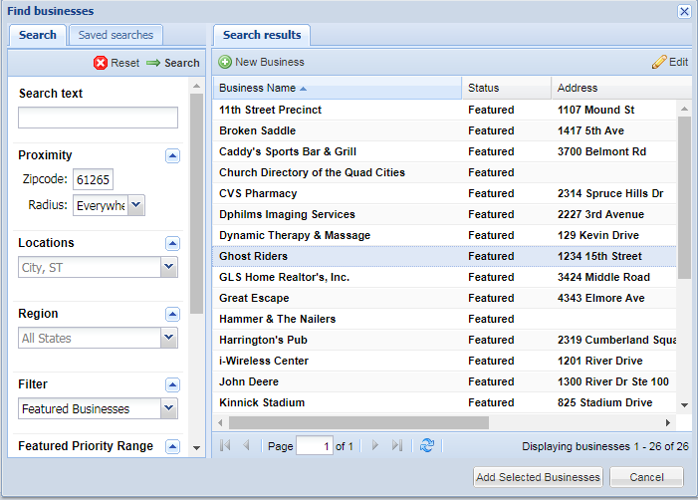
Click on Add. This opens the Business Directory in the BLOX CMS Admin.
Use the Search Terms to find the business you want to relate to this Ad. Only one business can be related to an ad. Select it and click on Add Selected Businesses on the bottom right.
You will return to the Ad Edit window. Click on Save when you are done with the Ad. Remember, if the Start Date did not get set, the Ad will go live.
Create The Ad Block
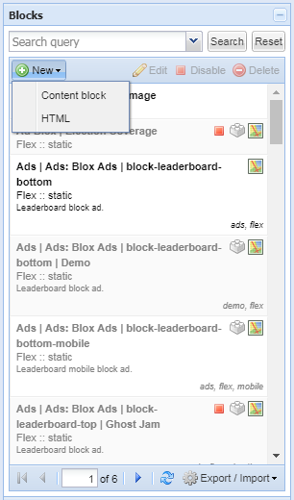
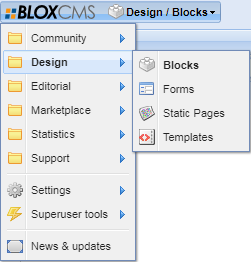
In the BLOX CMS Admin, in the upper left corner, navigate to Design / Blocks.
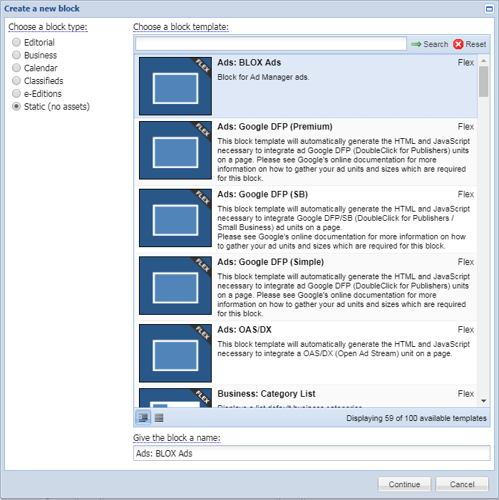
In the Block Library, click on New and select Content Block.
This opens the Blocks available to use. Click on Static block type. In the Static blocks options, click on Ads: BLOX Ads to select it (or if using GAM, select the applicable GAM Ad Block).
Click on Continue on the bottom right. The block loads.
NOTE: The following block instructions and/or information apply to the Ads: BLOX Ad block type. For GAM blocks, some of this information applies (i.e.: Naming The Block and Finding the Block ID), otherwise, fill in GAM block fields accordingly.
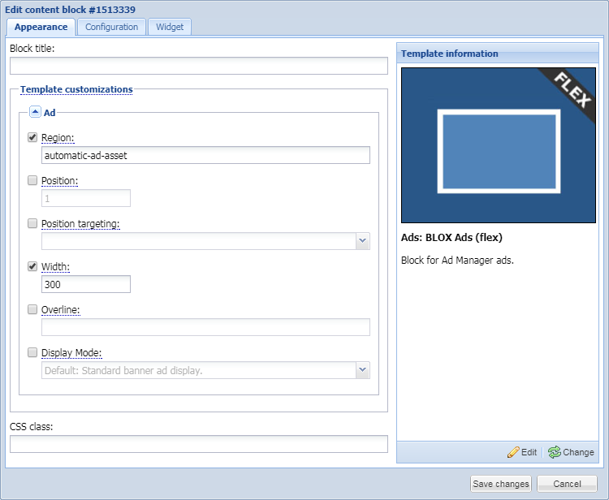
Under Appearance, fill in the following:
- Region - Check the checkbox and copy/paste the Ad Region you created "automatic-ad-asset."
- Position - Leave this at "1" for these types of ads.
- Position Targeting - If you are using iQ, set this to Below The Fold. Otherwise, this can be ignored. It does not apply to In-Story Automatic Ads.
- Width - Enter the Maximum Width you set the ad to, in pixels (IE: 300).
- Overline - This is optional. Its the small light text words above the ads (IE: Sponsor or Advertisement, etc.).
- Display Mode - Best Practice is to leave this at default for Standard Banner Ad Display.
- CSS Classes - This is optional. Using CSS determines whether the ad is hidden or visible on various device types depending on the class being used.
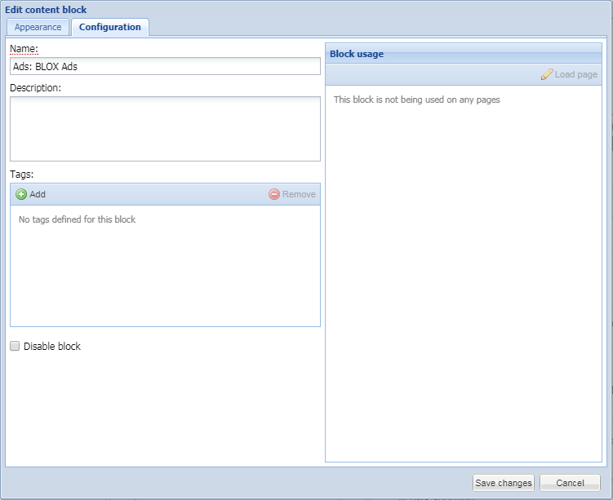
Click on Configuration to edit that portion of the block.
Under Configuration, fill in the following:
- Name - Leave the Ads: BLOX Ads there but add to it. Put in a hyphen (-) or a pipe (|) for separation but be descriptive about the ads purpose. For Example: automatic-ad-asset | in-story ad | 300 | Business Name).
- Description - Administrative purposes only. Enter a description for the purpose of the ad block.
- Tags - You can add keyword tags to the block.
- Disable Block - Checking this will disable the block and all adds assigned to this will not be displayed.
- Click on Save to save the block. The block will close but is now part of the Block Library.
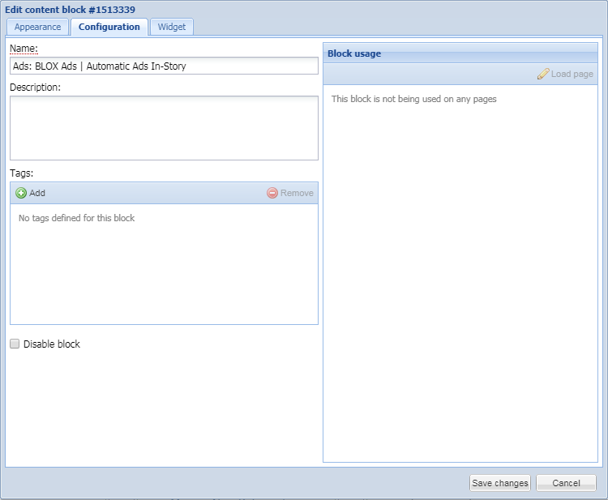
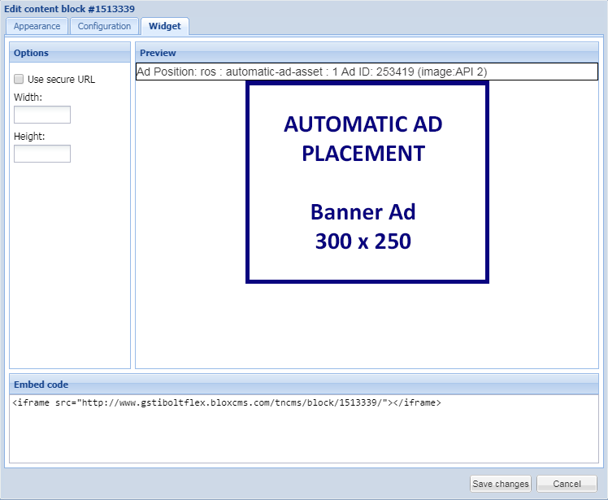
In the Block Library, do a search for 'automatic' or another word you used in naming the block. When you find it, double click on it to open it. Notice the fields will be populated the way you set it up. There is now a third part of the block called, Widget. See the following screen shots.
NOTE: Notice in the Title of the Block (at the very top in the blue frame of the block), there is now a Block ID. It is also listed in the Embed Code on the Widget part of the block. Copy or Write Down this Block ID number. You need it in the next step.
Setup In-Story Automatic Ads Settings
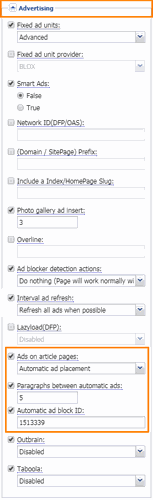
While in Design / Blocks, on the far right, expand Page Customizations. Then expand Advertising.
BEST PRACTICE: To enable In-Story Automatic Ads for your entire site, set these settings at the root (/) level (URL) of your site. If not, then set them at on each URL's that you do want In-Story Automatic Ads to run.
To enable In-Story Automatic Ads, in the Advertising Settings, set the following:
- Ads on Article Pages - The Default setting is disabling In-Story Automatic Ads. Selecting 'Automatic Ad Placement,' will enable In-Story Automatic Ads.
- Paragraphs Between Automatic Ads - Enter the number of paragraphs you want the Automatic Ad to be positioned after (ie: 3 = After every third paragraph, the Automatic Ad appears). You may want to consider increasing this number if you have smaller paragraphs (ie: one to three short sentences).
NOTE: This number must be a 1 or higher. You cannot put a 0 (zero) or the ads will be adversely affected.
- Automatic Ad Block ID - Paste or type in the Block ID number you obtained in the previous step.
NOTE: The Ad Block does not have to be pulled into a Region in order for this to work. It merely needs to be created and reside in your Block Library.
Click on Save at the top of the Page Customizations and click on Save Layout Changes on the Map Layout toolbar.