This article describes how users can replace a portion of video in the Blackbird editor while retaining audio and caption tracks. Users should already be familiar with the basic functions of Blackbird before attempting the tasks detailed below. Click here to review the basic steps to create a video in Blackbird.
Television broadcasters often face the need to remove copyrighted content — often national sports highlights — from news programming because they do not have the rights to distribute it online. In these situations, some broadcasters choose to insert other video in place of the copyrighted content while preserving the audio and captions from the broadcast. This article is written with that goal in mind.
The workflow described below would also apply to any video in which a user may want to remove the video track while retaining audio and/or captions. (Additionally, these steps can be generally followed to replace a portion of audio, or even captions, while preserving video, though exact steps would slightly differ as users would need to delete and add the appropriate tracks depending on the desired outcome of the edit.)
1. The first step is to record the placeholder video to Blackbird via the video feed being input to the capture box (alternatively, Field59 can work with you to manually upload to Blackbird if needed). Then clip and save the placeholder video segment to the files folder. You will use this later to replace the copyrighted video.
2. In the Files window, open the file you wish to edit. Mark your In/Out points for the entire clip in the left-hand (blue) source window, and move the clip to the right-hand (orange) editing window.
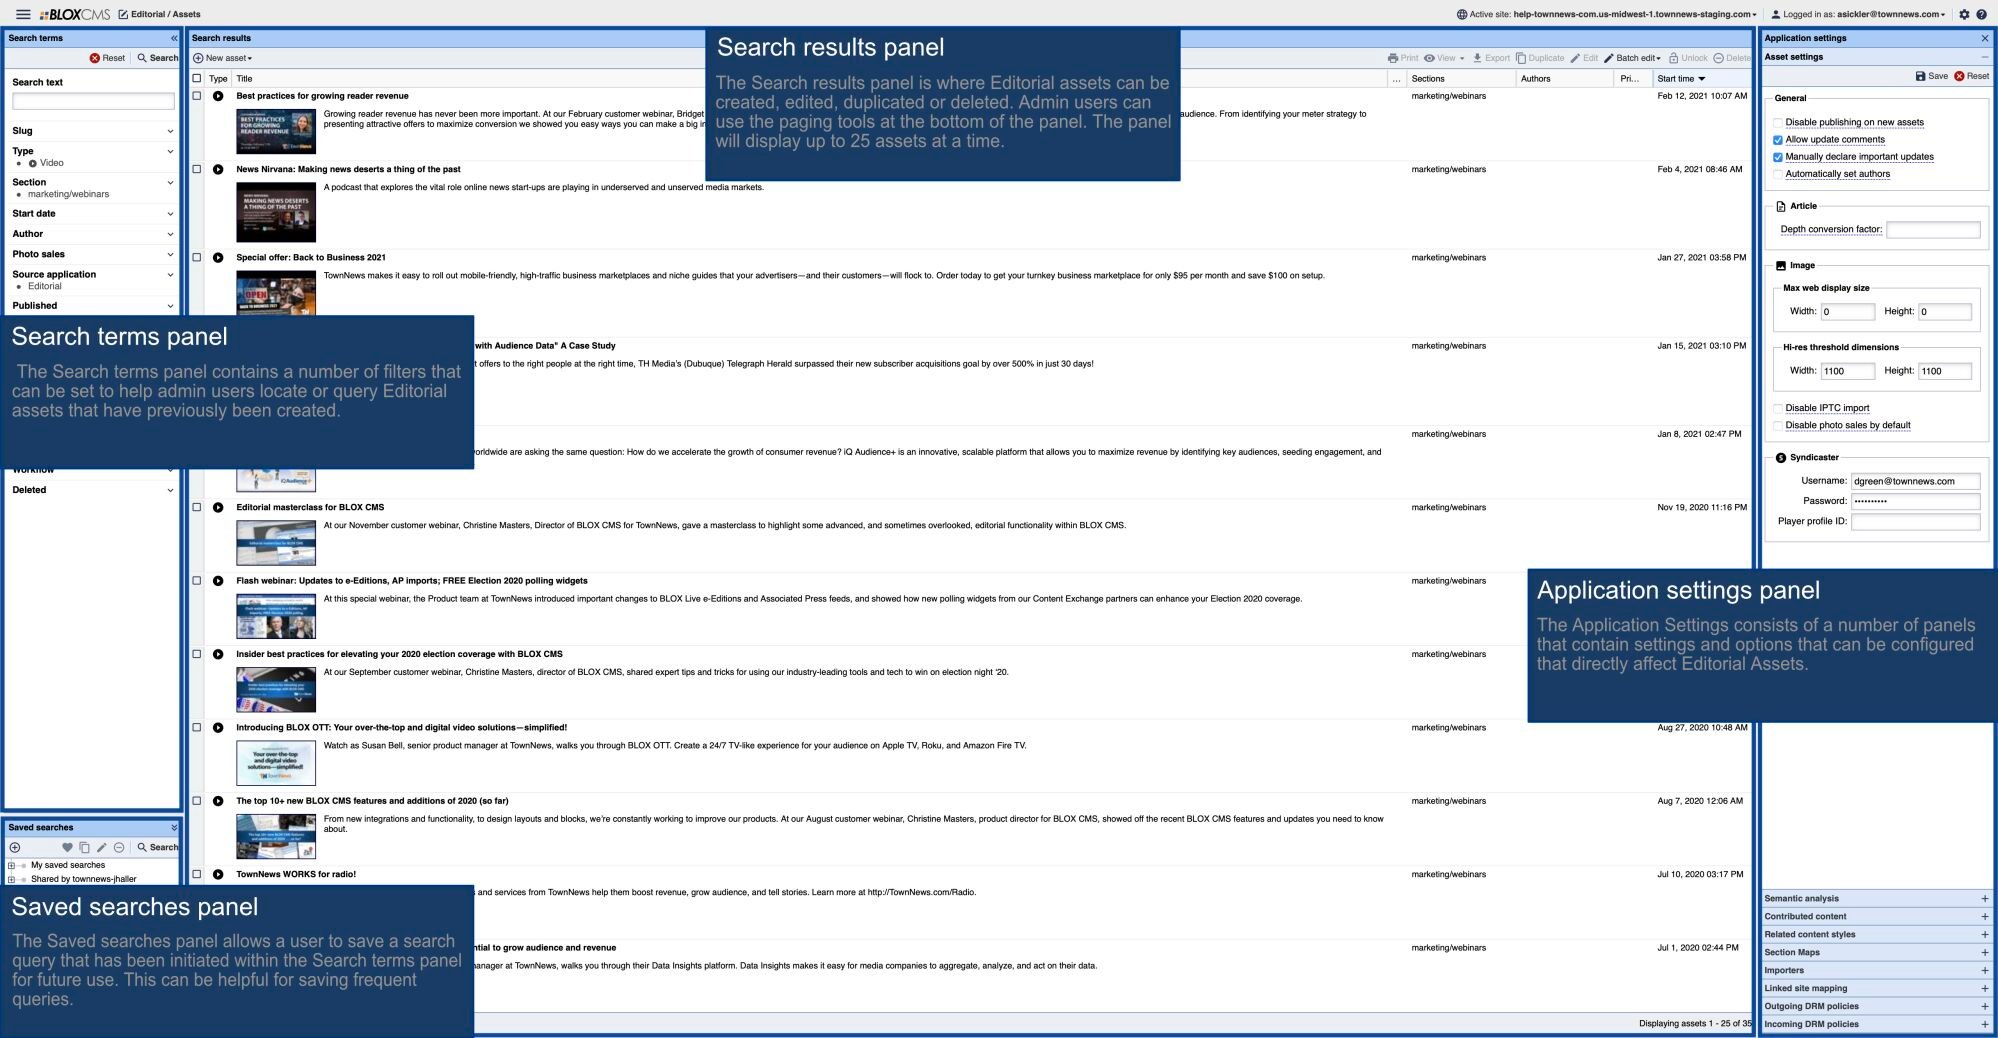
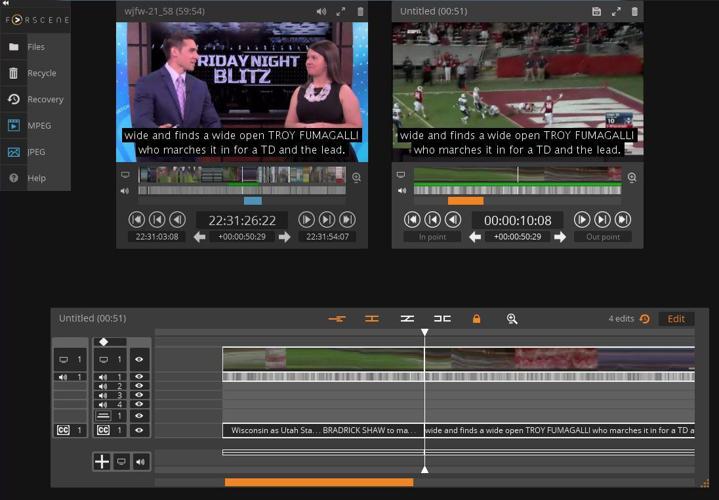
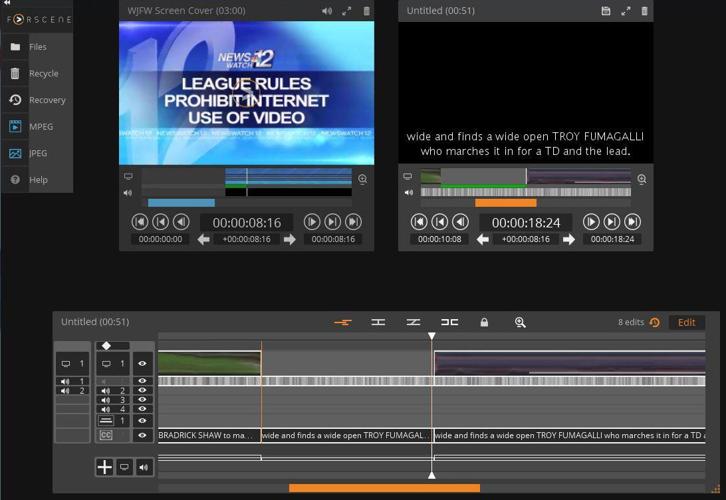
3. In the orange editing window, mark the In Point of where you want to start cutting out video.
4. In the Timeline, hit the Edit Point Button — this is the second icon (sideways H). That will create an edit point at your In Point. Repeat these steps for your Out Point for when you want to go back to the newscast video, to create a second edit point.
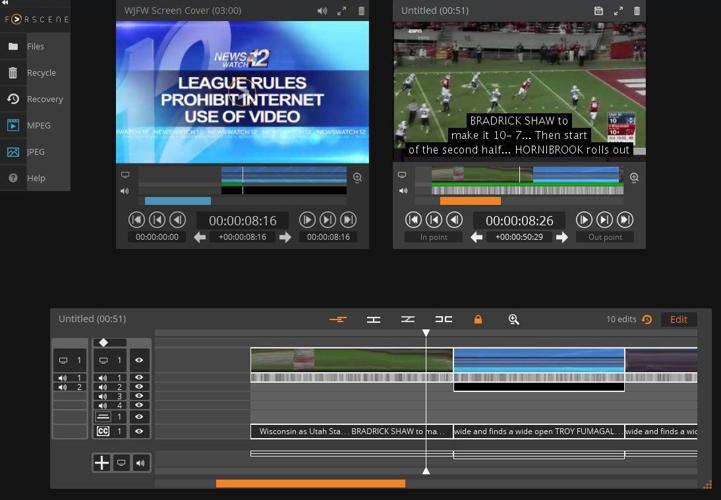
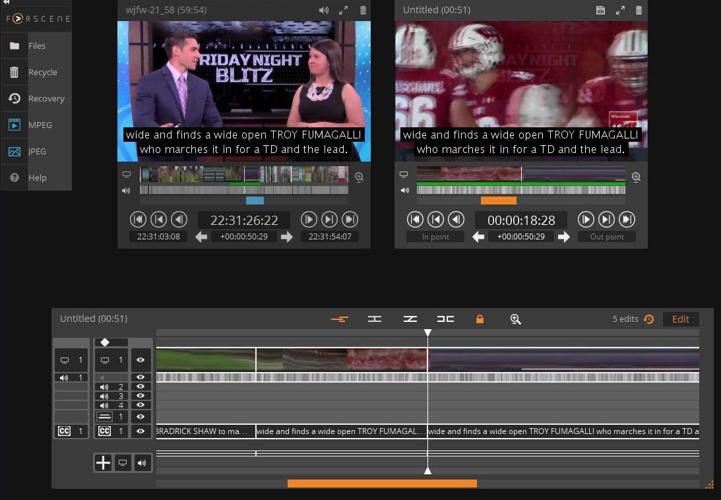
5. In Timeline, in the second column on the left, deselect Audio Track 1 by clicking on that button. The button turns gray to indicate it is inactive.
Also in that same column, deselect the Caption 1 track at the bottom of the column
NOTE: you may need to make the Timeline window larger at bottom right so as to not have to scroll to see the captions.
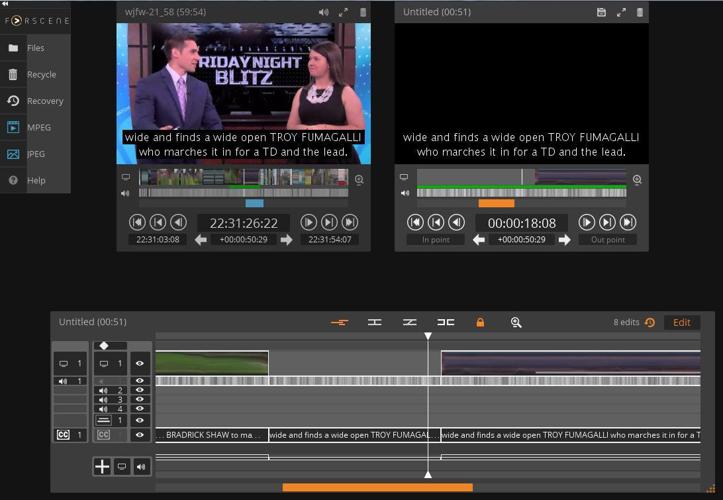
6. Put the cursor on timeline in between the two edit points. Hit the Delete key on your keyboard. This will remove only the video track and leave the audio and captions tracks, because you deselected the audio track in the previous step, so your delete action does not apply to the audio and captions.
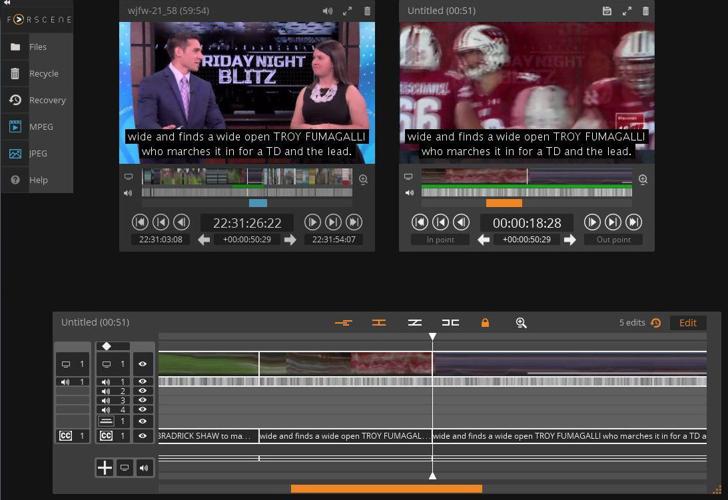
7. In the Timeline or orange window, move the cursor back to the start point in the clip where you cut out your video. Mark an In point. Go to the end of the part you cut out and mark an Out point. The difference between the two points is how much time from the placeholder video is needed to match the audio and captions from the original video.
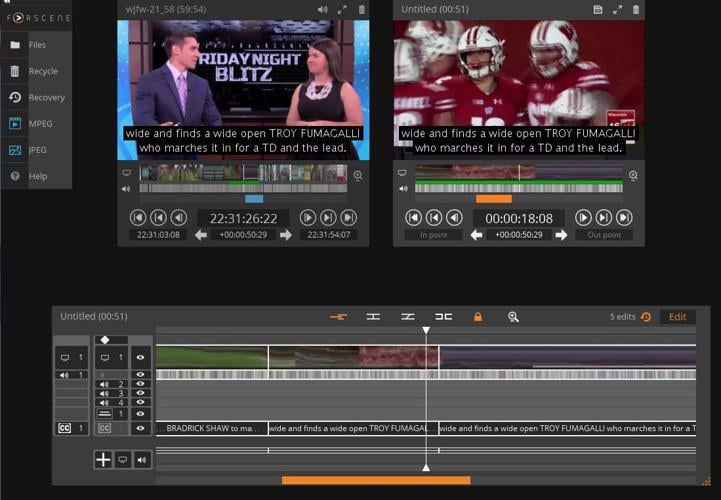
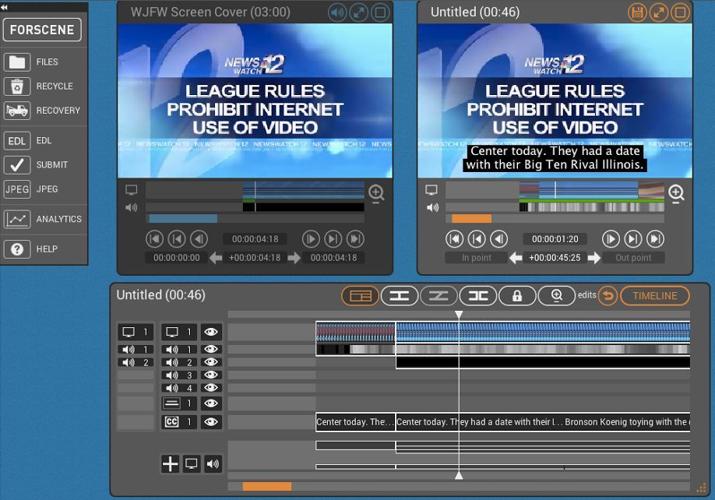
8. Load the placeholder video file in the blue window. Mark In/Out points for the exact amount of time you need.
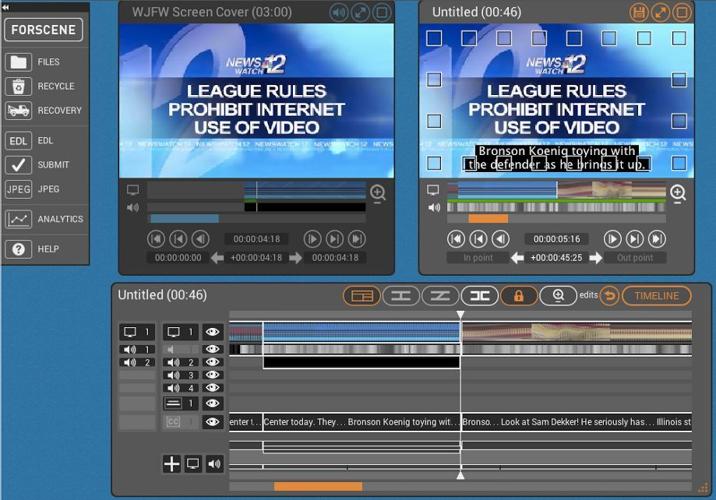
9. In the Orange window, click on the In point. Drag the segment from the blue window to the orange window. This will drop the portion of the static graphic video file at your In point.
10. Finally, re-activate the audio and captions tracks by clicking on them. Preview the edited clip in the orange window. Give the edit a title, and drag to the BLOX VMS button to start the transcoding process.