
Custom importers may be created to import content presented in a custom or non-standardized way or to accommodate unique importing needs.
Source

Module: This is the unit structure that runs the importer and is typically provided by our Customer Support team.
Location: The path to the feed file from data/feeds directory of the site. This field is required.
Trigger filename: If provided, a file with the supplied name must exist in the same directory as the feed or the parser will not process the feed.
Settings

Importer name: This is the name by which you identify the importer. This is not visible on the front end.
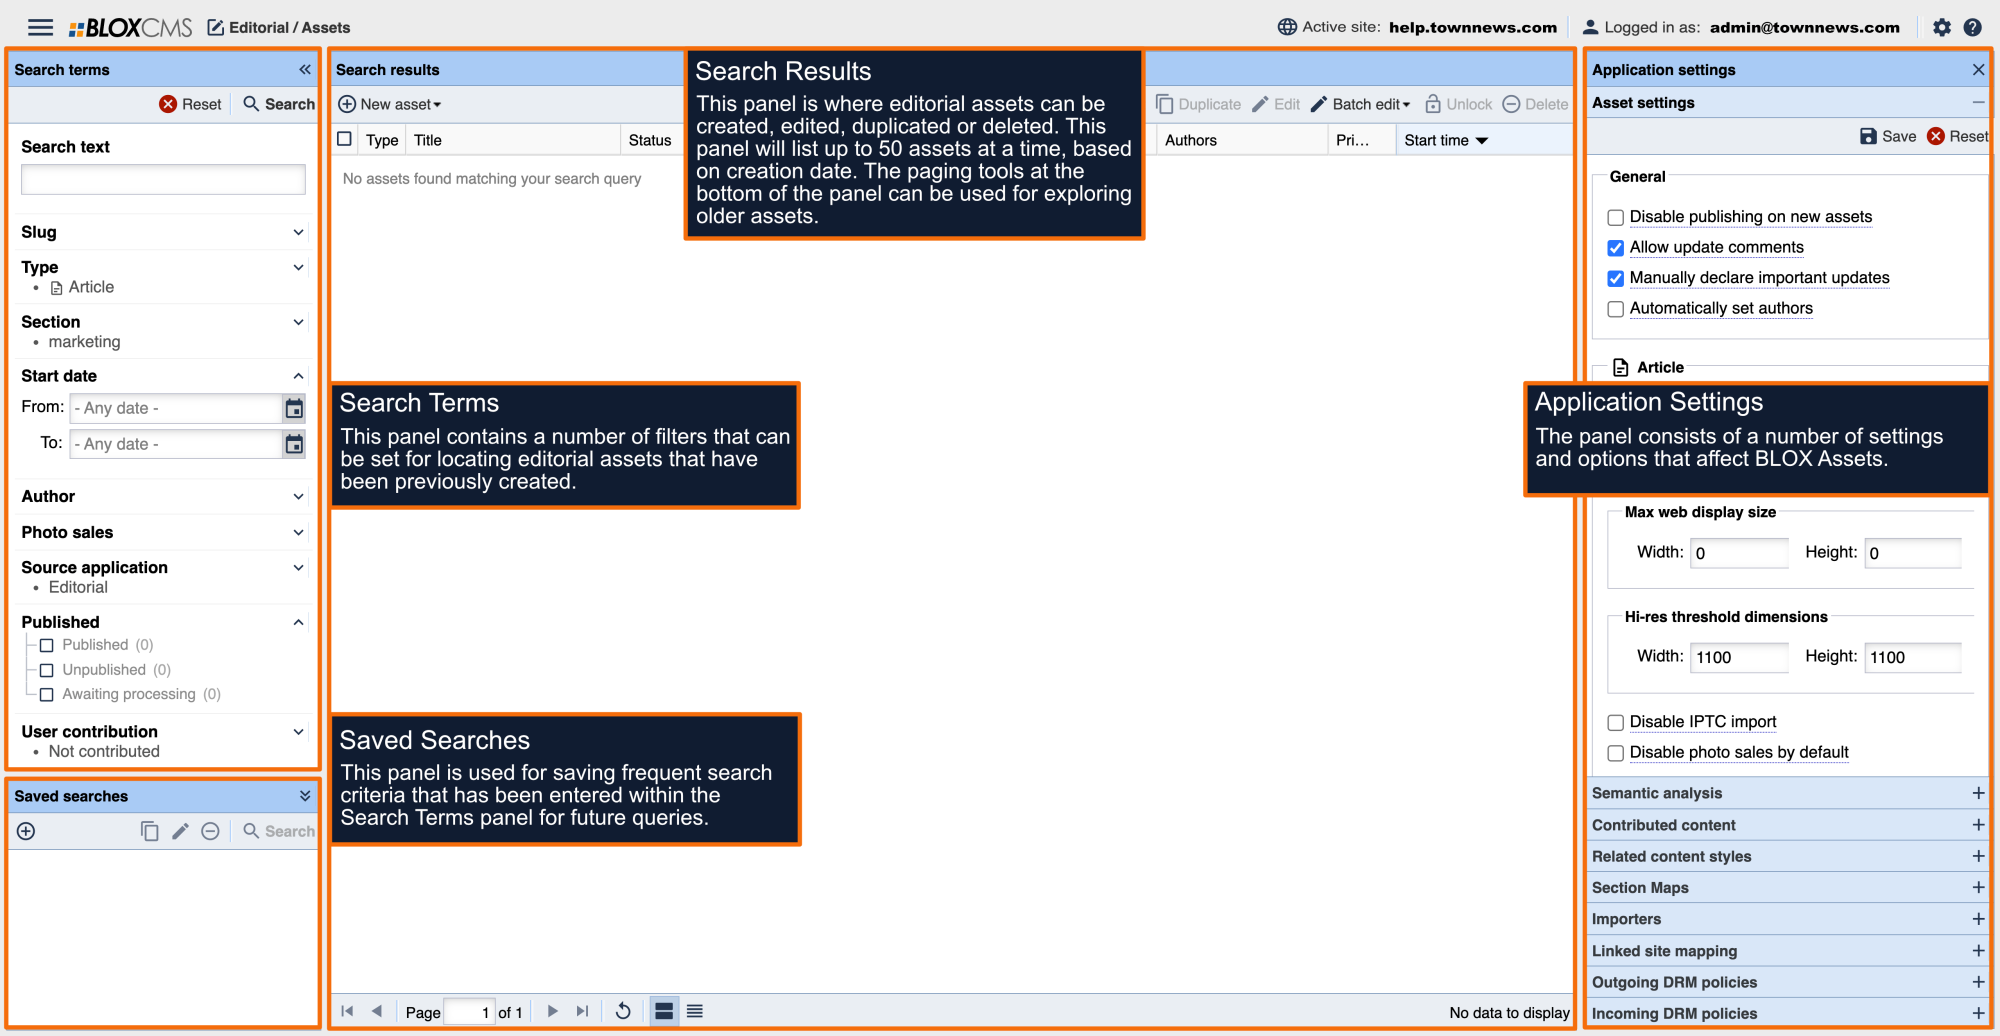
Section map: Select the section map that applies to the importer.
Update mode: Determines whether a new version of this asset will replace an existing version, or will create a new version of the asset.
Start time: This sets the start time that the system assigns to the article. The default is to set the date and time that the asset is ingested into BLOX CMS. Other options include 15 days from today and 30 days from today.
Archive time: If you set archive dates for your assets then choose now (the date and time the asset is ingested into BLOX CMS, 15 days from today or 30 days from today.
Delete time: If you set delete dates for your assets then choose now (the date and time the asset is ingested into BLOX CMS, 15 days from today or 30 days from today.
Set un-published: Enable this option to set assets as unpublished on import.
Disabled: This checkbox allows you to set up the importer but disable it so that it is not used.
Run automatically: Job will run automatically at the most appropriate times for the content it is processing. Jobs not set to run automatically may still be run manually.
If this is a new importer setup and you have also finished the settings under Source you can now Save your work.
Sections

Sections and subsections can be assigned to all assets that are imported by selecting +Add and then selecting the appropriate section(s) within the Select sections window. Select Add selections to finalize the selection.
Keywords

Keywords can be assigned to all assets that are imported by selecting +Add and then entering the appropriate keyword(s).
Flags

Flags can be assigned by selecting the corresponding checkbox(es).
Notifications

Log Email: Specify up to three email addresses (separated by commas) that should receive a log when the importer has ran.
Log Level: Use the drop-down menu to select the type of notification email that should be sent when a job is ran. Options include:
Info: This log displays basic log info.
Fatal: This log displays Fatal errors only.
Error: This log displays general and fatal errors only.
Warning: This log displays general warnings.
Select Save to finalize the importer.