
Content importers can be created for importing content via email. Multiple importers may be created based on the type of content being ingested, such as breaking news or high school sports.
When content comes in via email, the post-by-email importer creates an article asset, using the email subject as the asset title. Any email attachments are added to the asset as child assets. The body copy of the email (including signature) becomes the body copy.
Post-by-email importers rely on ingesting content by being associated with a unique email address (such as breakingnews@email.com or highschoolsports@email.com) in order to tag content appropriately.
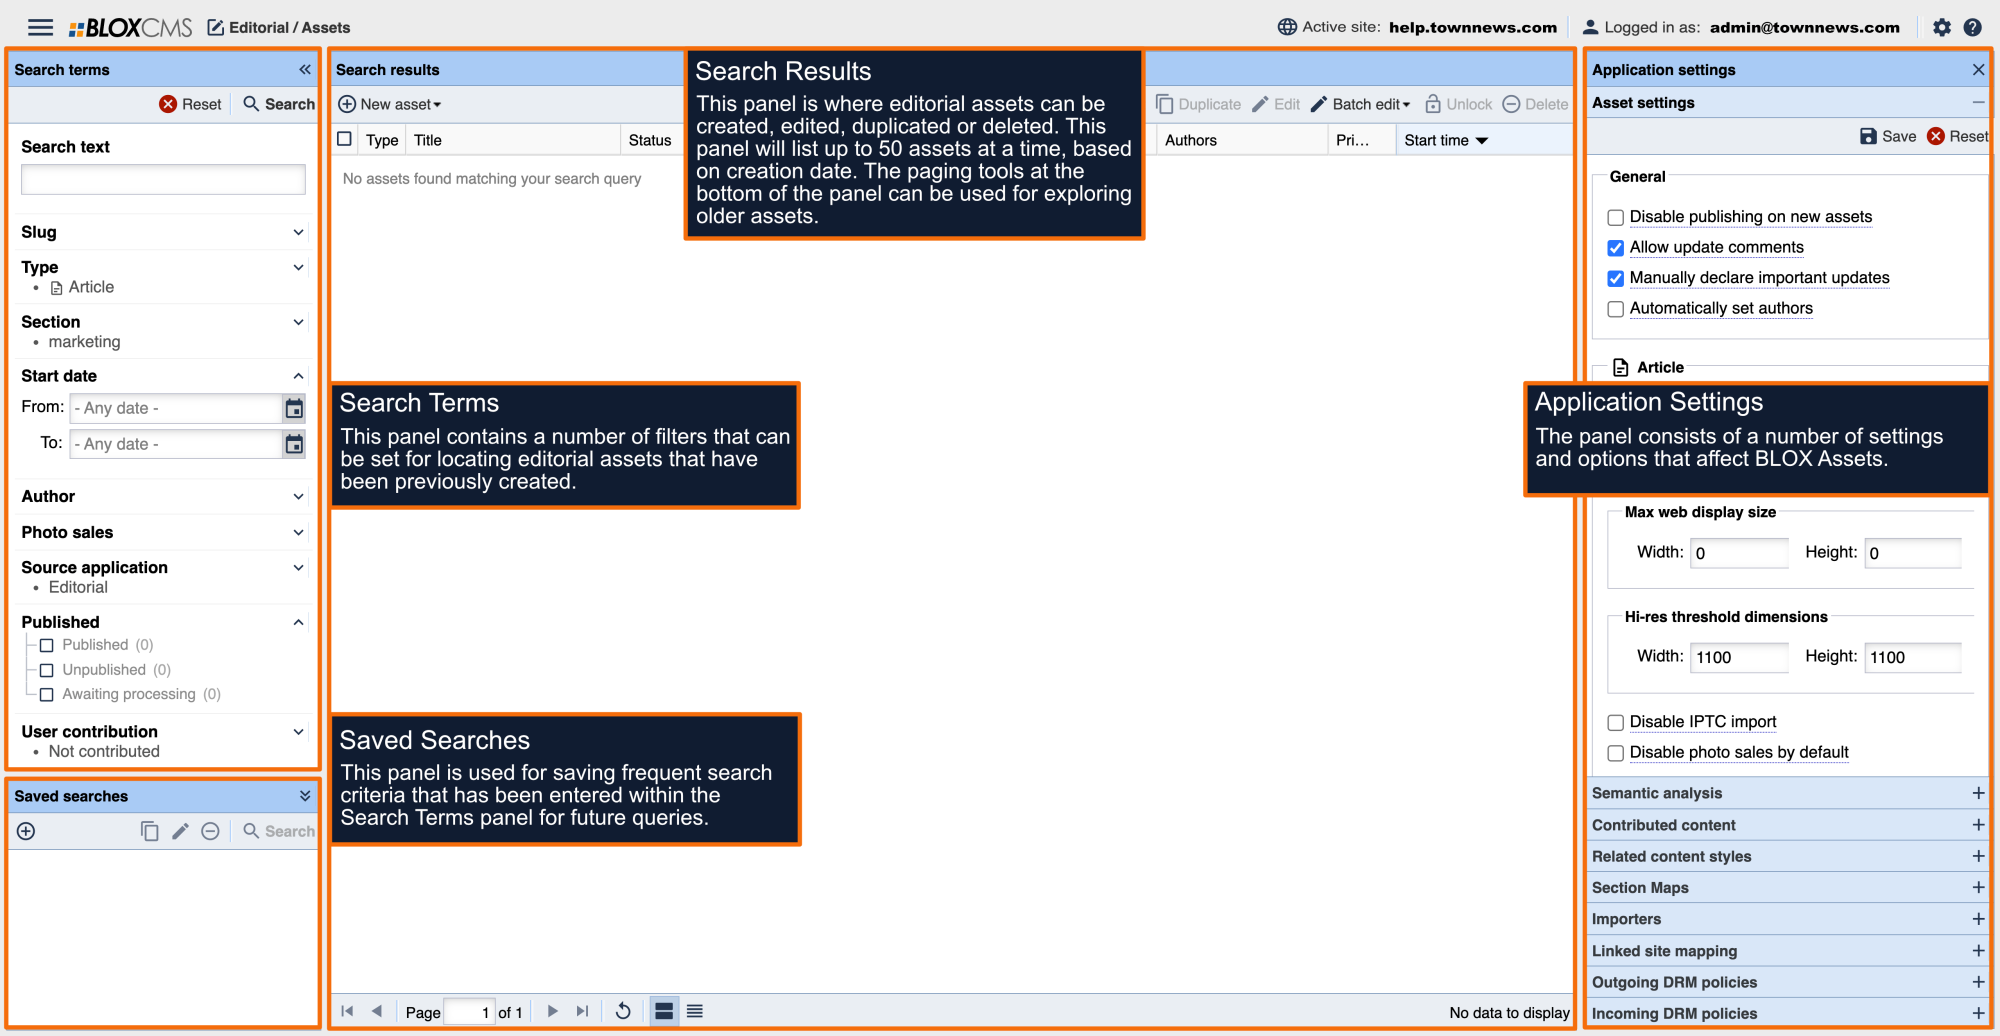
Post-by-email importers are configured under Editorial > Application Settings > Importers.
What's New
OAUTH AUTHENTICATION: Post-by-email importers now support OAuth-based authentication for Gmail accounts. This is required for any new Gmail-hosted importer, and replaces the previous username-and-password method for Gmail accounts. If you have an existing Gmail-based importer that has stopped working, see Migrating an Existing Importer below.
Supported Mail Providers
SUPPORTED PROVIDERS: OAuth authentication currently supports Gmail accounts only. Microsoft 365, Outlook.com, and Exchange Online accounts are not supported at this time. If you previously used a Microsoft-hosted mailbox for content submissions, contact BLOX Customer Support to discuss alternatives.
Migrating an Existing Importer
If you have a Gmail-based importer that previously used POP, Secure POP, IMAP, or Secure IMAP with a username and password, that importer stopped working in March 2025 when Google ended support for basic authentication on third-party apps. To restore it:
- Navigate to Editorial > Application Settings > Importers and edit the existing importer.
- In the Source section, change the Source Type to Gmail (OAuth).
- Click Authorize with Gmail and complete the authorization flow (see Source below).
- Save the importer.
The rest of the importer's configuration — name, section map, schedule, notification settings — remains intact.
Source

Post email: This is the email address you will send an email to for it to be posted to the BLOX CMS.
Source Type: This determines how the importer connects to the mail account. For Gmail accounts, select Gmail (OAuth). The previous POP, Secure POP, IMAP, and Secure IMAP options remain available for non-Gmail accounts that still support basic authentication, but new Gmail importers must use Gmail (OAuth).
Gmail OAuth Credential: When Source Type is set to Gmail (OAuth), this field appears in place of the Host, Username, and Password fields used by the basic-auth source types. Select an existing credential from the dropdown, or click Authorize with Gmail to create a new one (see Authorizing a Gmail Account, below).
Mailbox: This will default to INBOX. If you use Gmail filters or labels to route incoming submissions to a different folder, specify it here.
Authorizing a Gmail Account
The first time you set up a Gmail (OAuth) importer, you will need to authorize BLOX to access the Gmail account.
- Click Authorize with Gmail. A popup window will open and redirect you to Google's sign-in page.
- Sign in with the Gmail account you want to use as the inbox for submissions.
- Review the permissions Google requests and select Allow.
- The popup will close automatically when authorization completes.
- The Gmail address will appear in the importer configuration. Save the credential with a name you will recognize later (for example, Newsroom Submissions or Sports Stringers).
Once a Gmail account is authorized, the resulting credential can be reused on multiple importers — you do not need to re-authorize for each one.
If your browser blocks popups, the authorization window will not open. Allow popups for the BLOX admin domain and try again.
Settings
Importer name: This is the name by which you identify the importer. This is not visible on the front end.
Section map: Select the section map that applies to the importer.
Update mode: Determines whether a new version of this asset will replace an existing version, or will create a new version of the asset.
Start time: This sets the start time that the system assigns to the article. The default is to set the date and time that the asset is ingested into BLOX CMS. Other options include 15 days from today and 30 days from today.
Archive time: If you set archive dates for your assets then choose now (the date and time the asset is ingested into BLOX CMS), 15 days from today, or 30 days from today.
Delete time: If you set delete dates for your assets then choose now (the date and time the asset is ingested into BLOX CMS), 15 days from today, or 30 days from today.
Disabled: This checkbox allows you to set up the importer but disable it so that it is not used.
Run automatically: Job will run automatically at the most appropriate times for the content it is processing. Jobs not set to run automatically may still be run manually.
Sections
Sections and subsections can be assigned to all assets that are imported by selecting +Add and then selecting the appropriate section(s) within the Select sections window. Select Add selections to finalize the selection.
Keywords
Keywords can be assigned to all assets that are imported by selecting +Add and then entering the appropriate keyword(s).
Flags
Flags can be assigned by selecting the corresponding checkbox(es).
Notifications
Log Email: Specify up to three email addresses (separated by commas) that should receive a log when the importer has run.
Log Level: Use the drop-down menu to select the type of notification email that should be sent when a job is run. Options include:
Info: This log displays basic log info.
Fatal: This log displays Fatal errors only.
Error: This log displays general and fatal errors only.
Warning: This log displays general warnings.
Select Save to finalize the importer.
Sender Attribution
When BLOX imports an email, it sets the article's author by looking up the BLOX user whose email address matches the email's "From" address. For attribution to work, each contributor needs a BLOX user account whose email address exactly matches the address they will send from. Aliases, secondary addresses, and "+suffix" addresses are treated as distinct from the primary address on file.
If no BLOX user matches the sender's address, the article will still be imported, but it will not be attributed to a specific author.
Revoking Access
To revoke BLOX's access to a Gmail account, sign into the Gmail account and visit myaccount.google.com/permissions. Locate BLOX in the list of authorized applications and remove access.
Once access is revoked, any importers using that credential will stop running until the account is re-authorized in BLOX.